 Bookmark
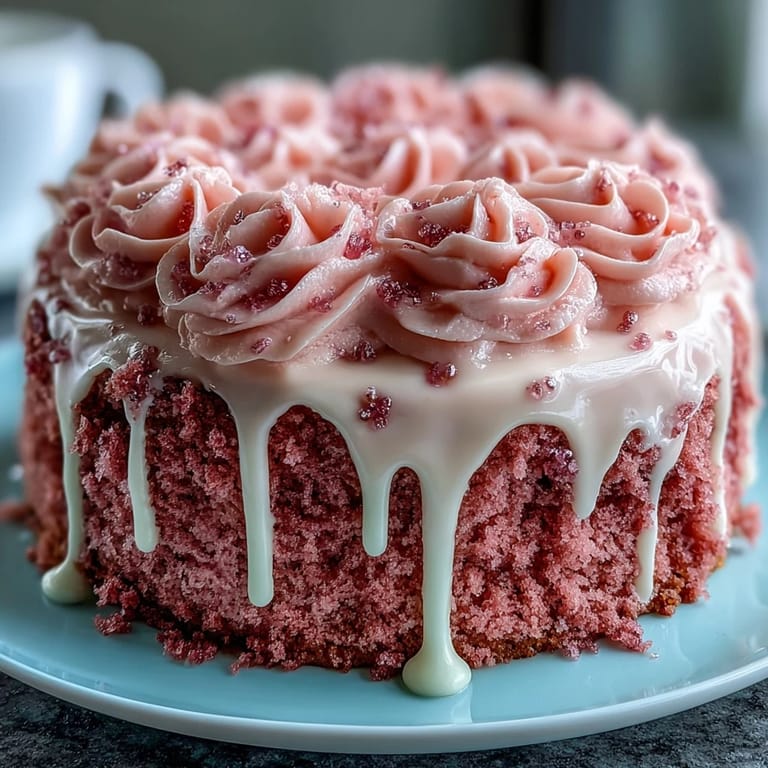
 The first time my kitchen filled with the delicate aroma of rosé and cake together, I nearly laughed out loud from surprise. Usually, I find it tricky to balance a cake with wine, but the gentle blush and scent of this Rosé Velvet Cake turns any day into a little celebration. There was something playful about brushing food-safe gold on white chocolate—my hands slightly shaky, the air rich with the scent of sugar and fruit. The process even made my normal messiness feel glamorous, just for one afternoon. This is one recipe that manages to look like it jumped off a magazine page, yet still tastes every bit as good as it appears.
One Saturday morning, I made this for a friend's bridal shower, dodging bridesmaids who kept sneaking tastes of frosting straight from the bowl. The kitchen was full of chatter and last-minute streamers, and the anticipation was as thick as buttercream. By the time we added the last stroke of gold, the whole group had gathered in the doorway, eyes wide, on tiptoes. We snapped a dozen phone pictures before anyone dared cut the first slice. Sometimes, the best part of a recipe isn't the flavor itself, but how it gathers people together.
Ingredients
- All-purpose flour: Provides structure and stability, but be sure to sift for a softer crumb.
- Granulated sugar: It not only sweetens, but helps create that signature golden crust.
- Baking soda & baking powder: Both give the cake lively lift, so measure carefully to avoid a flat result.
- Salt: Just enough to balance all the sweetness—don't skip it.
- Unsweetened cocoa powder: Adds depth without overpowering; always whisk it into flour to prevent clumps.
- Unsalted butter: Use at room temperature for easy creaming; cold butter will make the batter lumpy.
- Buttermilk: Makes the crumb tender and moist, but let it come to room temp for a smooth mix.
- Rosé wine: Subtle fruitiness and pink hue come from a good bottle, not a cooking wine.
- Eggs: Help bind everything together; crack into a separate bowl in case you get a rogue shell.
- Vanilla extract: Adds depth and rounds out the wine and cocoa flavors.
- White vinegar: Reacts with baking soda for tenderness; don't worry, you won't taste it.
- Pink food coloring gel: A little at a time gives you that perfect bridal blush shade.
- Cream cheese: The backbone of the frosting—be sure it's completely soft before mixing.
- Powdered sugar: Sift to keep the frosting lump-free and light.
- Heavy cream: Needed for a silky, pourable drip.
- White chocolate chips: Melt smoothly and hold their sheen for the drip.
- Edible gold luster dust & vodka/clear extract: Transforms the cake's finish and dries quickly for easy decorating.
Tired of Takeout? 🥡
Get 10 meals you can make faster than delivery arrives. Seriously.
One email. No spam. Unsubscribe anytime.
Instructions
- Prep Your Pans:
- Preheat the oven to 350°F (175°C), grease three 8-inch cake pans, and line the bottoms with parchment for easy release.
- Sift & Combine:
- Whisk flour, cocoa, baking soda, baking powder, and salt together in a big bowl until every speck blends evenly.
- Cream Butter & Sugar:
- Beat the butter and sugar until they're light, luscious, and pale, about three minutes; your mixer should leave soft ribbons.
- Add Eggs & Flavors:
- Crack in the eggs one by one, mixing after each, then pour in the vanilla for that sweet aroma that signals cake is coming.
- Mix Wet Ingredients:
- Stir in buttermilk, rosé, and vinegar just until the batter sighs together smoothly.
- Incorporate Dry Mix:
- Add the flour mixture bit by bit, scraping down the sides—stop as soon as no streaks remain, to keep things tender.
- Color It Up:
- Swirl in pink food gel gradually until you reach a lovely blush; trust your eye here.
- Bake Away:
- Divide the batter among the pans and tap gently to release bubbles, then bake 30-35 minutes or until a toothpick comes out clean.
- Cool Completely:
- Let cakes cool in their pans for ten minutes, then flip onto racks—the steam whooshes out and sets that velvety crumb.
- Make the Frosting:
- Beat butter and cream cheese until soft and creamy, gradually adding powdered sugar, then rosé, vanilla, and a pinch of salt for a silky finish.
- Assemble & Frost:
- Level your cake layers, frost each one generously, cover all with a crumb coat, chill, then apply the final luscious frosting all over.
- Gold Drip:
- Melt white chocolate with cream, let it cool, then drip over the cake's edge using a spoon or squeeze bottle—watch for those perfect golden droplets.
- Paint the Gold:
- Mix edible luster with vodka or extract and use a brush to paint the drip—it dries quickly and sparkles beautifully.
- Final Chill:
- Chill the cake at least 30 minutes before slicing to help the layers set and keep the decorations pristine.
 Bookmark
  Bookmark
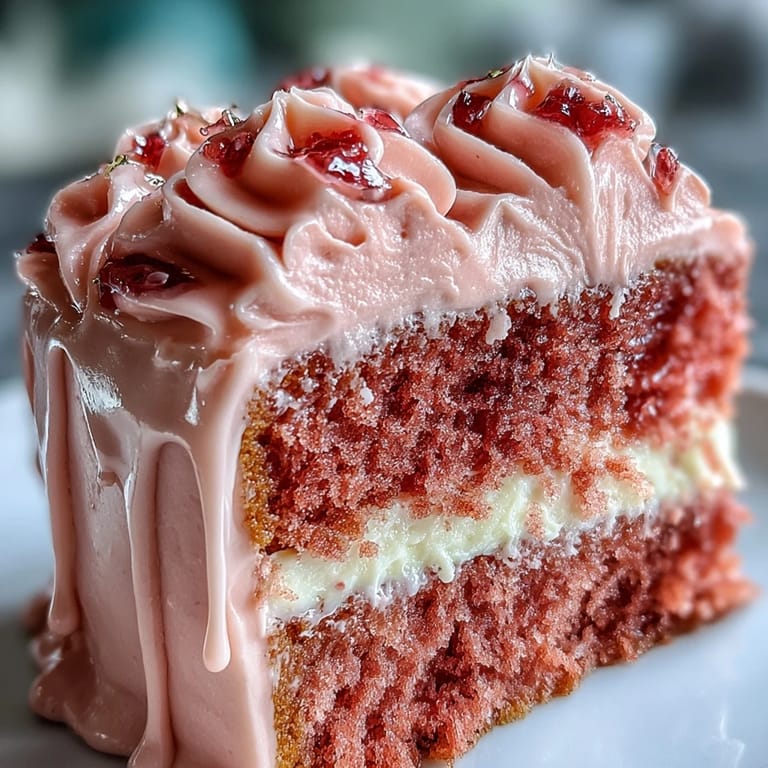
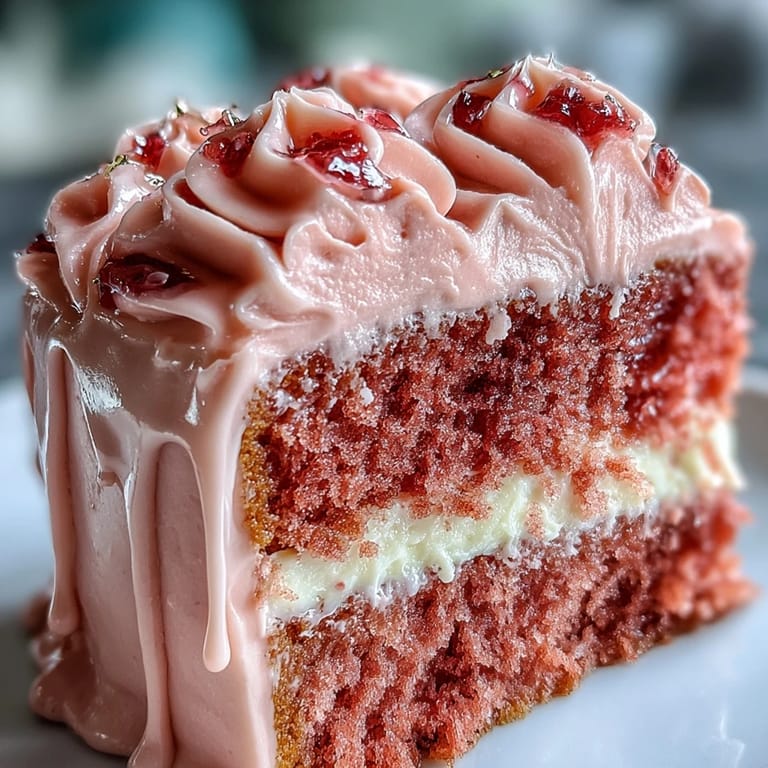
 At the shower, when the first slice was cut, a hush fell, broken only by the clink of glasses. As people savored that pink bite, I caught the bride grinning—the cake had become part of her story.
Creating the Perfect Crumb
When I first made this, I learned that overmixing the batter can lead to a denser cake, robbing it of softness. After the dry and wet come together, mix just until you can't see flour. If your flour isn't sifted, you can get odd pockets in the crumb. The buttermilk and vinegar combination is the real trick behind the tender, melt-in-your-mouth crumb. Don't skip the wire racks—cooling completely makes all the difference.
Decorating Like a Pro
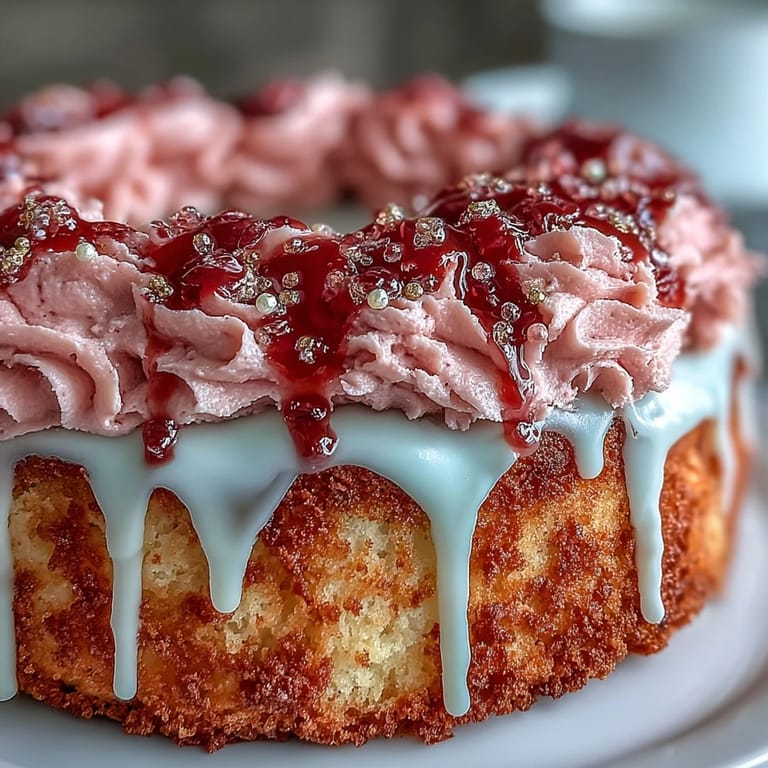
Getting that smooth final coat of frosting always felt intimidating until I used an offset spatula fresh from the freezer. Small turns on a cake stand help smooth sides quickly, and a cold crumb coat is essential for sharp edges. Use a squeeze bottle for the drip if you're nervous wielding a spoon. The gold painting feels fancy but dries remarkably quickly, so work steadily. And don't worry about imperfect drips—they're proof it was made by hand, not machine.
Serving and Presentation Ideas
Nothing garners more wows than piling fresh berries or edible flowers on top, as their colors pop against the blush and gold. For an extra wow, place the cake on a simple white stand and let the gold drip be the only shimmer in the room. Serve each slice with a little dollop of leftover frosting instead of ice cream for a true shower treat.
- If your party is outdoors, keep the cake cool until just before serving.
- A sprinkle of gold leaf elevates the look without any extra effort.
- Remember to snap a photo before the first slice disappears!
 Bookmark
  Bookmark
 Cake this joyful deserves to be part of a celebration, but don't wait for a party. Each slice shares a little brightness and a lot of love, no matter the occasion.
Recipe Questions
- → How can I boost the rosé flavor without making the cake soggy?
Brush a light sugar-rosé syrup or a small amount of reserved rosé onto cooled layers just before assembling. Apply sparingly and allow a few minutes to absorb to avoid excess moisture.
- → What’s the best way to get a smooth, even gold drip?
Heat white chocolate and cream gently until fully melted; cool slightly so the mixture is still fluid but not hot. Apply drips with a spoon or squeeze bottle from the edge inward. Once set, mix gold luster dust with a clear alcohol or extract and paint on with a food-safe brush.
- → Can I make this for a non-alcoholic event?
Yes. Substitute rosé with sparkling white grape juice or use a concentrated grape reduction (cooled) in the frosting and for brushing the layers to retain the fruit character without alcohol.
- → How do I achieve a consistent blush-pink color?
Use gel food coloring and add it a little at a time to the batter until you reach the desired blush. Gel provides strong color without thinning the batter, so start with a tiny amount and adjust gradually.
- → What’s the best way to store and serve leftovers?
Keep the cake chilled in an airtight container for up to 3 days. Bring to room temperature for 30–60 minutes before serving for the best texture and flavor.
- → Can I prepare elements in advance?
Yes. Bake and freeze layers wrapped tightly for up to one month. Thaw in the refrigerator overnight, then level and assemble. Frosting can be made 1–2 days ahead and kept chilled.