 Bookmark
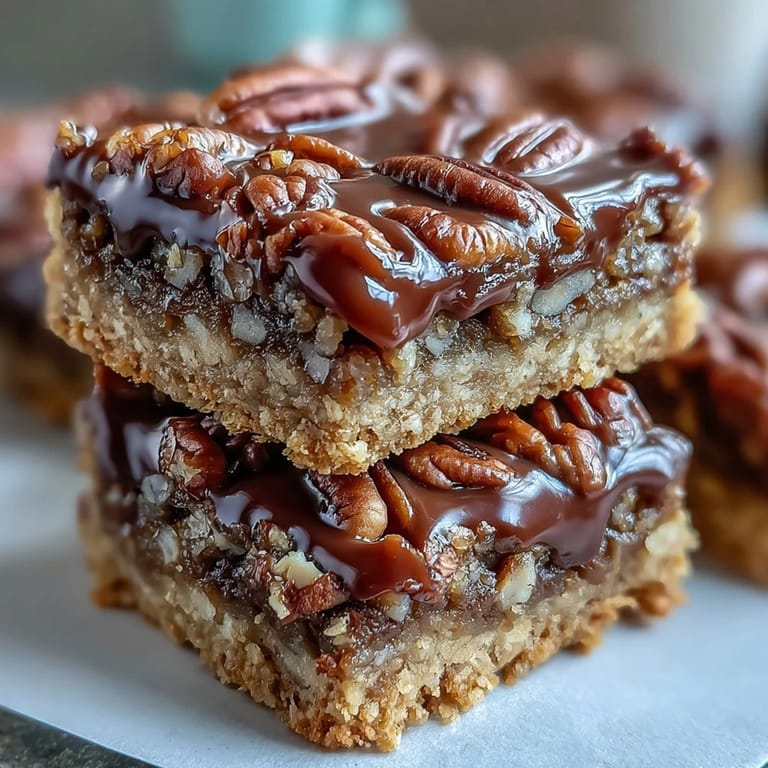
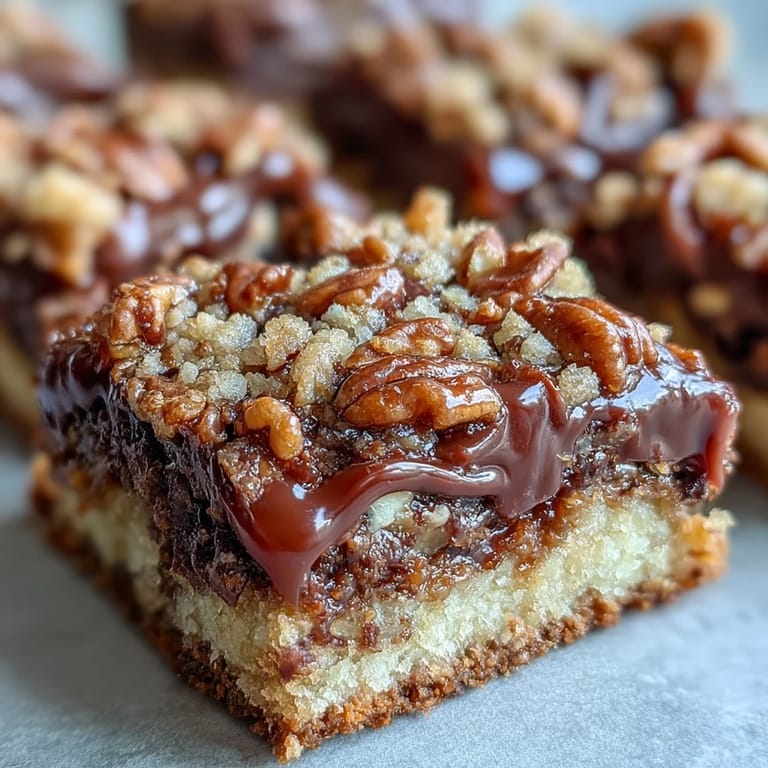
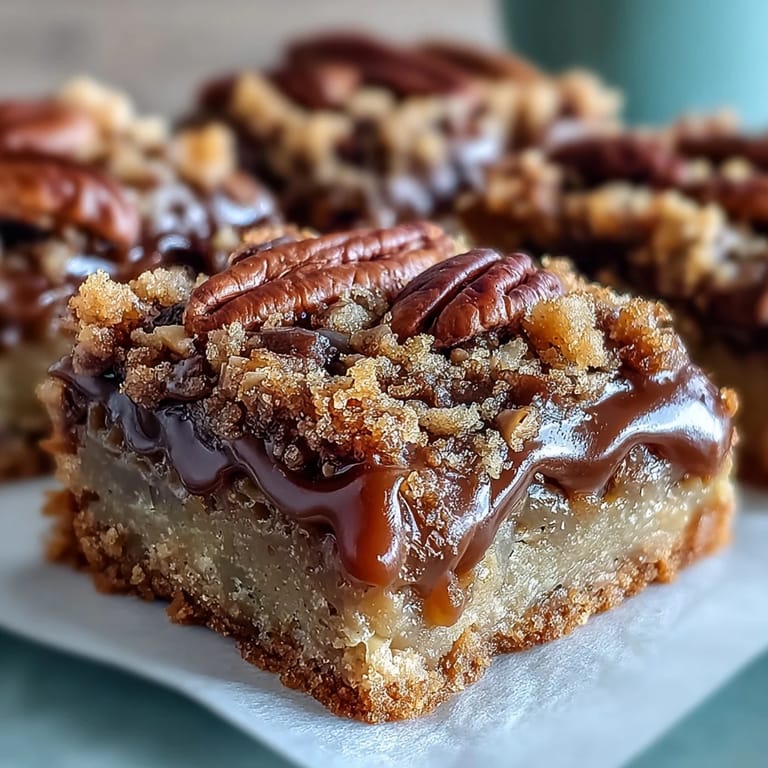
 The kitchen smelled like burned sugar the first time I attempted homemade caramel, so I switched to store-bought and never looked back. These turtle bars became my peace offering after that smoky afternoon, and now they're the dessert I make when I need to impress without the stress. The oat crumb base holds everything together like a sturdy hug, while chocolate and caramel do all the talking. I've brought these to potlucks, bake sales, and quiet weeknights when I just wanted something sweet. They disappear faster than I can cut them into neat squares.
I made these for my neighbor after she helped me jumpstart my car in the rain, and she asked for the recipe before I even made it back to my door. There's something about the way the caramel seeps into the oat crust that makes people pause mid-bite. My brother once ate four in a row and then admitted he'd skipped dinner. I've learned to hide a few in the back of the fridge if I want any left for myself. They're the kind of bars that make people linger in the kitchen, hoping you'll offer seconds.
Ingredients
- All-purpose flour: Forms the base of the crumb mixture and gives structure without making the bars cakey.
- Rolled oats: Add chewiness and a hearty texture that balances the sweetness of the caramel.
- Packed brown sugar: Brings molasses notes and keeps the crust tender and moist.
- Granulated sugar: Sweetens the crumb topping and helps it crisp up in the oven.
- Unsalted butter, melted: Binds the oat mixture and creates that golden, crumbly texture we're after.
- Salt: A small amount sharpens all the flavors and keeps the bars from tasting flat.
- Baking soda: Helps the crumb topping puff slightly and turn golden brown.
- Semi-sweet chocolate chips: Melt into the warm crust and create pockets of rich chocolate throughout.
- Chopped pecans: Toast as they bake and add that nutty crunch reminiscent of turtle candies.
- Caramel sauce: Store-bought works beautifully and saves time without sacrificing flavor.
- Heavy cream: Thins the caramel just enough so it spreads evenly and soaks into every layer.
Tired of Takeout? 🥡
Get 10 meals you can make faster than delivery arrives. Seriously.
One email. No spam. Unsubscribe anytime.
Instructions
- Prep the pan:
- Preheat your oven to 350°F and grease a 9x9-inch pan or line it with parchment for easy lifting later. I always let the parchment hang over the edges so I can pull the whole block out in one piece.
- Make the crumb mixture:
- In a large bowl, mix flour, oats, both sugars, melted butter, salt, and baking soda until it looks like wet sand. Set aside 1 cup of this mixture for the topping and press the rest firmly into the bottom of your prepared pan.
- Bake the crust:
- Slide the pan into the oven for 10 minutes, just until the edges start to turn golden. This par-bake keeps the crust from getting soggy once you add the filling.
- Warm the caramel:
- While the crust bakes, heat the caramel sauce and heavy cream in a small saucepan over medium-low heat, stirring constantly. Once it's smooth and pourable, take it off the heat.
- Layer the fillings:
- Pull the crust from the oven and immediately scatter chocolate chips over the hot surface, then sprinkle the chopped pecans on top. Pour the warm caramel evenly over everything, letting it pool and drip into the gaps.
- Add the topping:
- Sprinkle that reserved cup of crumb mixture over the caramel layer, covering as much as you can. It'll bake into golden nuggets that add crunch and contrast.
- Finish baking:
- Return the pan to the oven for 15 to 20 minutes, until the topping is deeply golden. The caramel will bubble up around the edges, and that's exactly what you want.
- Cool and cut:
- Let the bars cool completely in the pan on a wire rack, which takes about 30 minutes. Once firm, cut into 16 squares using a sharp knife wiped clean between cuts.
 Bookmark
 These bars have become my go-to when I need something that feels special but doesn't require fancy techniques or hard-to-find ingredients. I once packed them in a tin for a road trip, and they survived five hours in a hot car without falling apart. My friend who claims she doesn't like caramel ate three and asked if I'd make them for her birthday. There's something about the way all the layers work together that turns skeptics into believers. They're proof that simple combinations, done right, can feel like a little celebration.
Storing and Serving
Once the bars are completely cool, I store them in an airtight container at room temperature, and they stay chewy and fresh for up to a week. If you live somewhere humid, keep them in the fridge to prevent the caramel from getting too soft. I like to cut them into squares and layer them between sheets of parchment paper so they don't stick together. They taste great cold, room temp, or even slightly warm if you sneak one right after cutting.
Swaps and Variations
You can swap pecans for walnuts or almonds if that's what you have on hand, and the bars will still taste like turtle candy. For a salted caramel version, sprinkle a pinch of flaky sea salt over the caramel before adding the crumb topping. I've also drizzled melted dark chocolate over the cooled bars for extra drama, and no one complained. If you want them a little less sweet, use bittersweet chocolate chips instead of semi-sweet.
What to Watch For
The topping should be deeply golden, not pale, or it won't have that satisfying crunch. If your caramel starts to bubble over the edges during baking, don't panic, it'll settle as it cools. I learned the hard way to let these cool completely before cutting, or the layers slide apart and you lose that clean square shape.
- Press the crust firmly into the pan so it holds together after baking.
- Use a sharp knife and wipe it between cuts for neat edges.
- Let the bars sit for at least 30 minutes after baking, patience really pays off here.
 Bookmark
 These turtle bars have earned a permanent spot in my recipe rotation, and I hope they do the same for you. They're forgiving, crowd-pleasing, and just indulgent enough to feel like a treat without being over the top.
Recipe Questions
- → Can I make these bars ahead of time?
Absolutely. These bars actually improve after sitting for a day as the flavors meld together. Store in an airtight container at room temperature for up to one week. They can also be frozen for up to three months—wrap individual squares in plastic wrap and place in a freezer bag.
- → What's the best way to cut clean squares?
Let the bars cool completely in the pan before cutting, at least 2-3 hours or overnight. For the cleanest cuts, chill the pan in the refrigerator for 30 minutes, then use a sharp knife wiped clean between each cut. Lifting the entire slab out using parchment paper overhang makes cutting easier on a flat surface.
- → Can I use store-bought caramel sauce?
Yes, store-bought caramel works perfectly. Look for a high-quality sauce without artificial flavors. If the sauce is quite thick, the addition of heavy cream helps thin it slightly for even distribution. Homemade caramel adds wonderful depth but requires extra time and caramel-making technique.
- → What nuts work best in this dessert?
Pecans are traditional in turtle candy and provide excellent flavor, but walnuts or almonds make fine substitutes. Toast the nuts lightly in a dry pan for 3-4 minutes before sprinkling over the crust to enhance their natural flavor and add extra crunch to each bite.
- → Why does my caramel layer sometimes sink into the crust?
This can happen if the crust is under-baked initially. Ensure the first bake goes the full 10 minutes until slightly set. Also, let the crust cool for just a few minutes before adding the chocolate and caramel—not so long that it's completely cold, but enough that it has firmed up slightly from its baked state.
- → Can I make these bars dairy-free?
It's challenging but possible. Use vegan butter sticks, dairy-free chocolate chips, coconut cream instead of heavy cream, and a dairy-free caramel. The texture may vary slightly, and the flavor profile will shift, but the concept remains delicious. Note that many dairy-free caramels use coconut bases.