 Bookmark
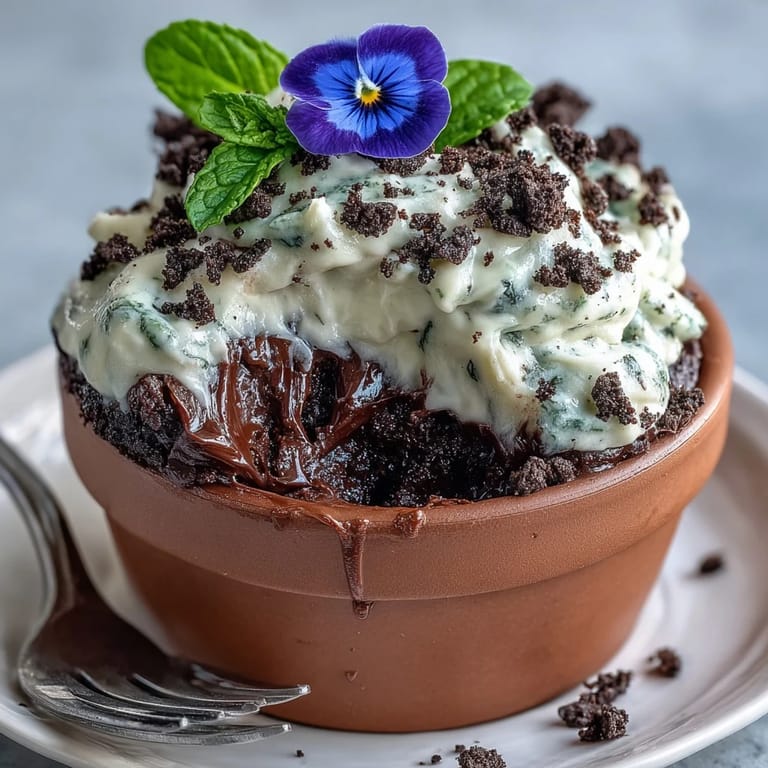
 The smell of brownies baking always seems to seep through every corner of the house, but the first time I tried turning them into edible flowerpots it felt more like an art project than dessert prep. It was one of those bustling Saturday mornings when our kitchen was littered with mixing bowls and laughter from my youngest, who couldn't resist sneaking a fingerful of batter. There's something joyful (and admittedly a bit messy) about smashing Oreos with a rolling pin and piling the "dirt" onto fluffy whipped cream. Prepping these for Mother's Day, my apron dusted with crumbs and the air tinged with cocoa, was the kind of simple magic that makes a day linger sweetly in your mind. It's not just about the treat—it’s about the smile on Mom's face when she discovers flowers blooming from chocolate soil.
Last year, I whipped these up for a Mother's Day brunch, and my sister laughed as we tried to keep the whipped cream from tipping o& the sides while the kids kept “taste-testing” the dirt. We ended up with chocolate fingerprints on the fridge, bursts of giggles, and everyone so proud of their little garden pots. Sharing these brownies around the table, it suddenly felt less about perfection and more about creating a playful moment we all craved. Even my flower-averse uncle reached for seconds, declaring them almost too cute to eat (almost). There was a gentle warmth in the room that seemed to come not just from the oven, but from baking something whimsical—together.
Ingredients
- Unsalted butter: Melted butter sets the stage for fudgy brownies—don’t rush this step or the texture will su&er.
- Granulated sugar: Whisking this in early helps create that delicate, shiny top everyone craves in brownies.
- Large eggs: They bring the batter together—crack them gently to avoid stray shell pieces!
- All-purpose flour: Just enough for structure, but not so much that the brownies lose their gooey charm.
- Unsweetened cocoa powder: The backbone of chocolate flavor—opt for a dark variety if you want extra depth.
- Baking powder: A small amount lifts the brownies to keep them from being too dense.
- Salt: A pinch here quietly amplifies the chocolate flavor—don’t skip it.
- Vanilla extract: Adds a cozy sweetness that ties everything together beautifully.
- Oreo cookies: The star of the “dirt”—crush with gusto for a crumbly, realistic topping.
- Heavy cream: Whip until sturdy peaks form for a creamy layer under the cookie dirt.
- Powdered sugar: A little makes the whipped cream cloud-like and slightly sweet.
- Edible flowers or colorful gummies: These transform brownies into whimsical flowerpots—bonus points if you find pansies or violets.
- Fresh mint leaves (optional): Little green leaves give a true garden look and a refreshing pop if you have them.
Tired of Takeout? 🥡
Get 10 meals you can make faster than delivery arrives. Seriously.
One email. No spam. Unsubscribe anytime.
Instructions
- Get your pots ready:
- Preheat the oven to 175°C (350°F). If you're using mini flower pots, make sure they've been cleaned thoroughly and line the bottoms with parchment—otherwise, bake the brownies in a prepared tray.
- Melt and mix:
- Place the butter in a saucepan and melt it slowly over low heat until just liquid; whisk in the sugar and vanilla so you get a glossy, fragrant base.
- Add the eggs:
- Let the battered butter cool a bit before cracking in the eggs one at a time, whisking well so everything turns smooth and a little mousse-like.
- Combine dry ingredients:
- Sift the flour, cocoa powder, baking powder, and salt into a bowl, then gently fold it into your wet mixture—don’t overwork or your brownies will turn out dry.
- Fill your pots or pan:
- Divide the batter evenly among the mini pots (about 200 ml each) or spread it smoothly in your lined pan, then take a minute to inhale the chocolatey aroma.
- Bake to perfection:
- Bake for 20–25 minutes; you want a toothpick to come out with just a few moist crumbs for maximum fudginess. Cool completely and resist the urge to dig in just yet.
- Create the dirt:
- Pop the Oreos (with filling) into a food processor or a zip bag and give them a satisfying smash until you have fine dirt-like crumbs.
- Whip up some clouds:
- In a cold bowl, beat the cream with powdered sugar into stiff peaks—it should feel thick and swooshy, like a pillow.
- Assemble with care:
- If you baked in a tray, cut the brownie into rounds to fit your pots. Place a brownie base in each, then top with a cloud of whipped cream and sprinkle Oreo "dirt" generously on top.
- Decorate your garden:
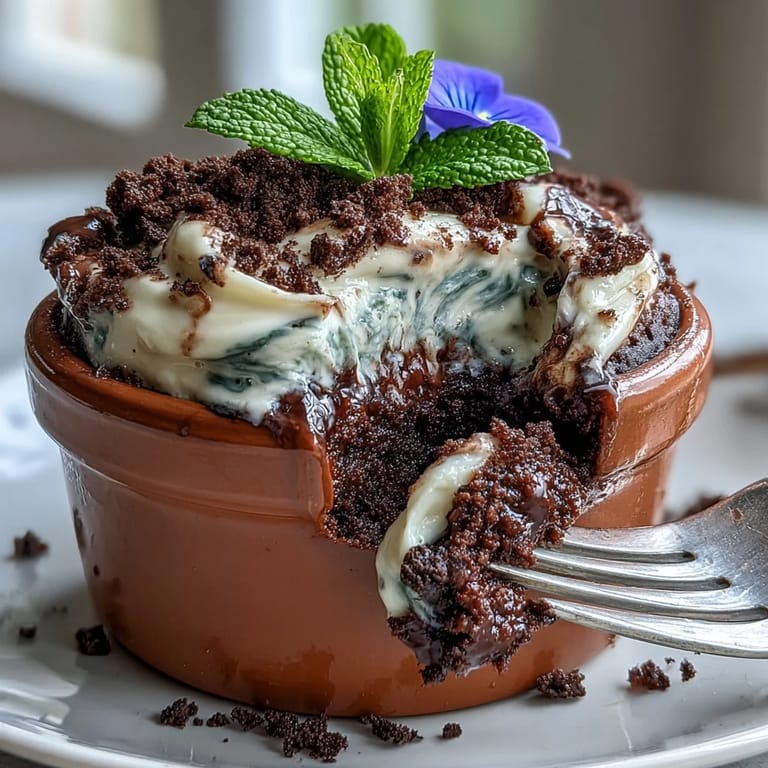
- Now comes the fun—gently arrange edible flowers, gummies, and mint leaves on each pot until they look like mini blooming gardens.
- Chill and serve:
- Pop the pots into the fridge until you’re ready for the big reveal—and don’t forget to snap a picture before everyone dives in!
 Bookmark
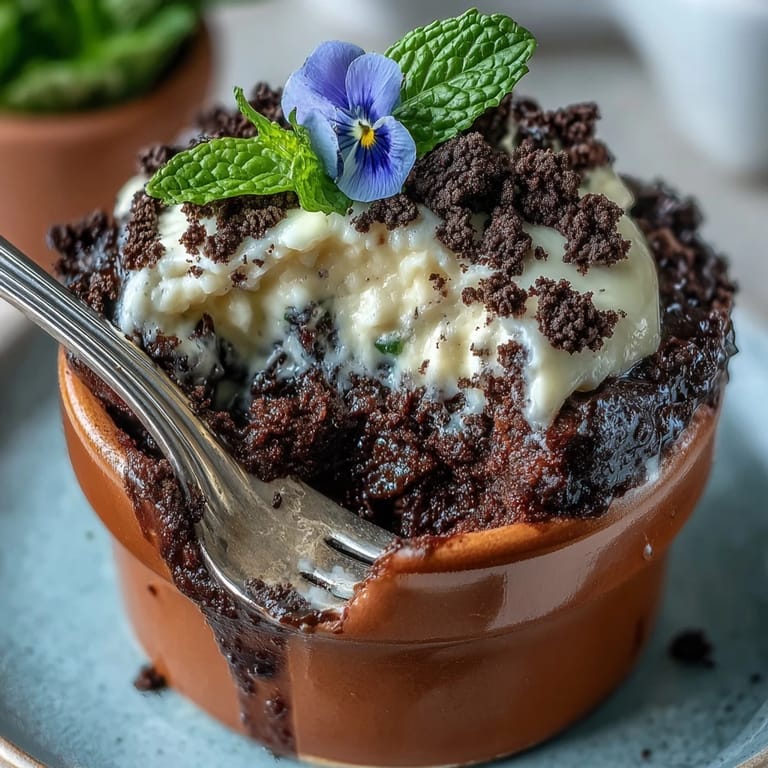
 Watching everyone dig their spoons into the little "gardens" and scrape down to the fudgy brownies underneath, I realized that sometimes the best desserts come with a bit of play. That afternoon, the pretend garden party at our own table made these brownies taste even sweeter than I expected.
Making Flower Pots Work For Dessert
Mini oven-safe flower pots are a kitchen game-changer for presentations, but make sure to line the bottom with parchment paper—it’s a trick I learned the sticky way after one batch got hopelessly stuck. They also make portioning out servings easy, especially for little hands.
Finding Edible Flowers and Fun Decorations
Edible flowers can turn a simple treat into an eye-catching centerpiece—violets and pansies are my favorites for a burst of color. If you’re short on time, old-school gummy candies shaped like flowers also get big grins, especially from kids.
Customizing Your Brownie Pots
Don’t hesitate to play around with the recipe—sometimes I slip in a handful of mini chocolate chips or walnuts for surprise bites. You can even swap the brownie base for blondies or a boxed mix if you’re short on time or patience.
- A dash of espresso powder in the batter makes the chocolate sing.
- Layering the cream and “dirt” generously keeps the flower stems standing tall.
- Always check your edible flowers are safe for eating—never use ones from the florist.
 Bookmark
 However you decorate these, they're sure to charm everyone at the table. Here's to baking a little happiness into Mother's Day—or any day that needs a touch of whimsy.
Recipe Questions
- → Can I use a boxed brownie mix?
Yes. Use the mix according to package directions, adjusting bake time for smaller pots. Let brownies cool completely before topping to prevent the cream from melting.
- → How do I get fine Oreo 'dirt' crumbs?
Pulse Oreos in a food processor until fine. Alternatively, seal in a bag and crush with a rolling pin, then sift or press through a mesh to remove large pieces for a uniform texture.
- → Are edible flowers safe to use?
Only use flowers sold as food-safe from reputable vendors. Rinse gently, remove stems if needed, and choose non-toxic varieties like violets or pansies. Avoid flowers treated with pesticides.
- → What if I don't have mini flower pots?
Bake the batter in a lined tray, cool, and cut into rounds or squares to fit ramekins or cups. You can also press brownie rounds into clean, oven-safe ramekins before topping.
- → How should I store leftovers?
Cover and refrigerate assembled pots in an airtight container for up to 2–3 days. Note that the Oreo crumbs will soften over time; for best texture, store cream and crumbs separately and assemble shortly before serving.
- → Can these be prepared ahead of time?
Yes. Bake and cool brownies and crush Oreos a day ahead. Whip cream just before assembly for the freshest texture, or stabilize the cream if you need to prepare it earlier.