 Bookmark
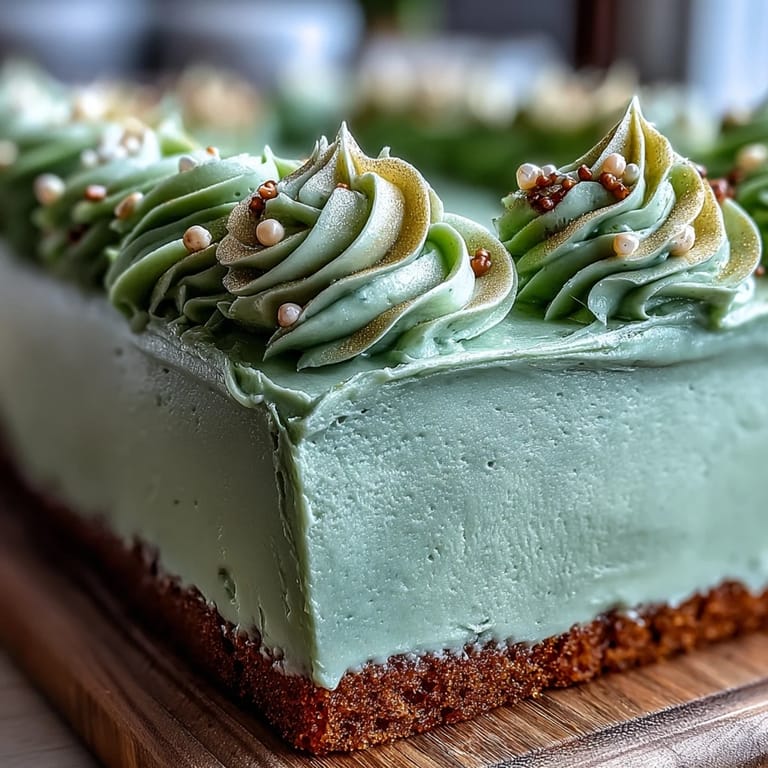
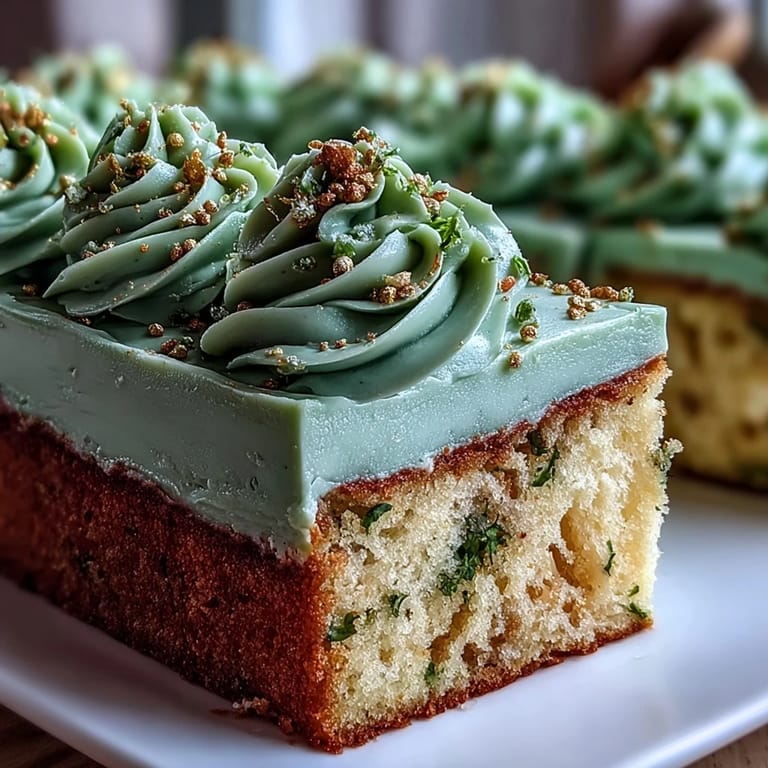
 The gentle hum of the hand mixer and the subtle aroma of vanilla have a way of making any kitchen feel like a celebration zone, but the first time I attempted this sage green and gold graduation sheet cake, the house seemed to radiate an extra buzz of anticipation. The color palette alone was enough to make even skeptical relatives pause to admire, especially as the gold accents caught the afternoon light. It’s funny—even before baking was finished, I could imagine the laughter around the table and the inevitable frosting swipes from little (and not so little) fingers. Somehow, piping golden details turned into a sort of meditative final lap after all the hustle. Every morsel feels like a tribute, more festive and elegant than I expected from a classic vanilla cake.
I’ll never forget the clatter of plates and chatter of friends as we sliced into this for a cousin’s graduation. Someone suggested, only half-joking, that the gold details looked too pretty to eat—of course they dove in anyway.
Ingredients
- All-purpose flour: Gives the cake its sturdy but tender structure; sifting helps ensure a light crumb.
- Baking powder: Adds lift for a fluffy, celebration-ready cake.
- Salt: Just a pinch, but it sharpens all the flavors in both cake and frosting.
- Unsalted butter: Balances vanilla sweetness and lends a creamy mouthfeel; room temperature is crucial for even mixing.
- Granulated sugar: Sweetens the cake without overwhelming the vanilla essence.
- Large eggs: Provide lift and richness; always crack them into a separate bowl first.
- Pure vanilla extract: The star flavor—don’t skimp or swap for imitation if you can help it.
- Whole milk: Moistens the batter and brings the crumb together; let it lose its chill before using.
- Powdered sugar: The backbone of a lush buttercream—sift it to avoid clumps.
- Sage green gel food coloring: Turn simple frosting into a celebration canvas—gel type gives thorough color without excess liquid.
- Gold edible luster dust: The magic in every gilded celebration swirl; mix with clear vanilla or vodka to paint rich accents.
Tired of Takeout? 🥡
Get 10 meals you can make faster than delivery arrives. Seriously.
One email. No spam. Unsubscribe anytime.
Instructions
- Set the Scene:
- Preheat your oven to 350°F and line your biggest cake pan with parchment so nothing sticks and clean-up’s a breeze.
- Mix the Dry Team:
- Whisk flour, baking powder, and salt together; pause to inhale the faint nutty scent that always spells cake.
- Cream for Lightness:
- Beat butter and sugar until pale and fluffy, like sweet clouds marking the start of something delicious.
- Eggs and Vanilla Go In:
- Add eggs one at a time, then vanilla—the kitchen instantly smells like a celebration afternoon.
- Blend and Alternate:
- Add the flour mix in thirds, alternating with milk; the batter should feel rich, just thick enough to hold a gentle ribbon when you lift the spoon.
- Bake Off:
- Pour it all into the prepared pan, smoothing out any stubborn peaks before baking until golden and fragrant—test with a toothpick and listen for the soft thud as the cake cools down.
- Buttercream Magic:
- Beat the butter until it whispers, then sift in powdered sugar gradually; scrape the bowl to keep it extra smooth. Add vanilla, salt, and cream until silky—fun to dip a finger and taste for yourself.
- Sage Green Swirl:
- Tint most buttercream with sage green gel for elegance, then pause to reserve some for gilding.
- Iced to Perfection:
- Spread sage green frosting over the cooled cake, smoothing with an offset spatula until it looks like calm velvet.
- Gleaming Gold Touches:
- Mix gold luster dust with clear vanilla or vodka and paint on accents with a small brush; each gleam is a tiny celebration all its own.
- Final Flourishes:
- Pipe or spoon on the reserved buttercream, drizzle more gold, and finish with graduation hats, gold sprinkles, or whatever feels festive and you.
 Bookmark
  Bookmark
 Watching the first gold-tipped forkful disappear at the party, I realized this cake had somehow turned a regular gathering into a little milestone—there’s something about edible sparkle that makes everyone pause and savor just a bit longer.
Decorating Details for Big Moments
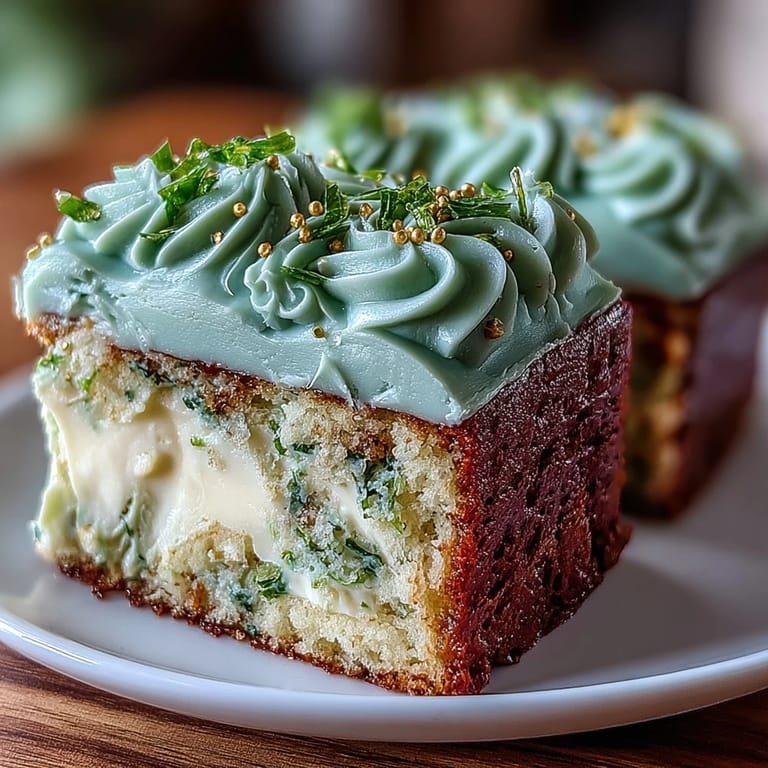
The sage green buttercream makes a sleek backdrop, but it’s the gold touches that bring the party flair—take your time painting or piping, even if your lines aren’t perfect. Sometimes my swirls went off course, but laughter always covered the gaps, especially if a curious kid wanted to try the brush.
Flavor Variations for Every Graduate
Want a twist Not long ago, I swapped in lemon extract for a brighter, zesty crumb; other times, a dash of almond makes each bite taste like pure celebration. The batter is welcoming for all sorts of extracts or even a hearty scoop of mini chocolate chips if the mood strikes.
Slicing, Storing, and Serving with Ease
The neatest slices came after chilling the cake for a bit, something I started doing after one too many celebrations left the cake looking like it had survived a confetti storm. Let your frosting firm up in the fridge for squares with crisp, photo-worthy edges that hold up on the dessert table.
- Run a knife under hot water for ultra-clean cuts.
- Store leftovers in the fridge, tightly covered, to keep things fresh.
- Just before serving, let the cake sit out for 10–15 minutes for the buttercream to turn perfectly creamy again.
 Bookmark
  Bookmark
 However you decorate it, this sage green and gold sheet cake always seems to gather people together. May every slice mark a sweet new beginning in good company.
Recipe Questions
- → What pan size and bake time should I use?
Use a 12×18 inch sheet pan and bake at 350°F (175°C) for about 28–32 minutes, testing with a toothpick. Baking times may vary by oven, so check for a clean toothpick and a light golden top.
- → How do I get a silky, spreadable sage buttercream?
Beat room-temperature butter until creamy, then add sifted powdered sugar gradually. Add vanilla, a pinch of salt, and heavy cream 1 Tbsp at a time until you reach a smooth, spreadable consistency, then tint with gel color for an even sage tone.
- → What’s the best way to create gold accents?
Reserve about 1/2 cup of buttercream for accents. Mix edible gold luster dust with a few drops of clear vanilla or vodka to form a paintable paste, or blend dust directly into the reserved buttercream for a marbled metallic effect. Use a food-safe brush or piping tip for details.
- → Can I adjust the flavor or make it gluten-free?
Yes. Swap vanilla for almond, lemon, or chocolate extracts to vary flavor. For gluten-free, replace all-purpose flour with a cup-for-cup gluten-free blend; expect slight texture differences and check doneness early.
- → How should I store and serve the sheet after decorating?
After decorating, chill briefly to set the buttercream for clean slices. Store covered at room temperature for up to 1 day or refrigerate up to 3 days; bring to room temperature before serving for best texture.
- → How do I ensure neat squares when slicing?
Chill the decorated sheet for at least 20–30 minutes to firm the buttercream. Use a sharp knife wiped clean between cuts, or heat the knife under hot water and dry before slicing each row for smoother edges.